Visuals are a compelling part of web design. With the audience’s attention span getting shorter, the pictures you add to your marketing material help break up the text and make it more consumable. Photographs, illustrations, infographics, and other forms of visuals add an attractive element to your overall website, making it more engaging and exciting for the viewers.
But did you know that the pictures you add to your website also play an essential role in bringing more traffic toward your website?
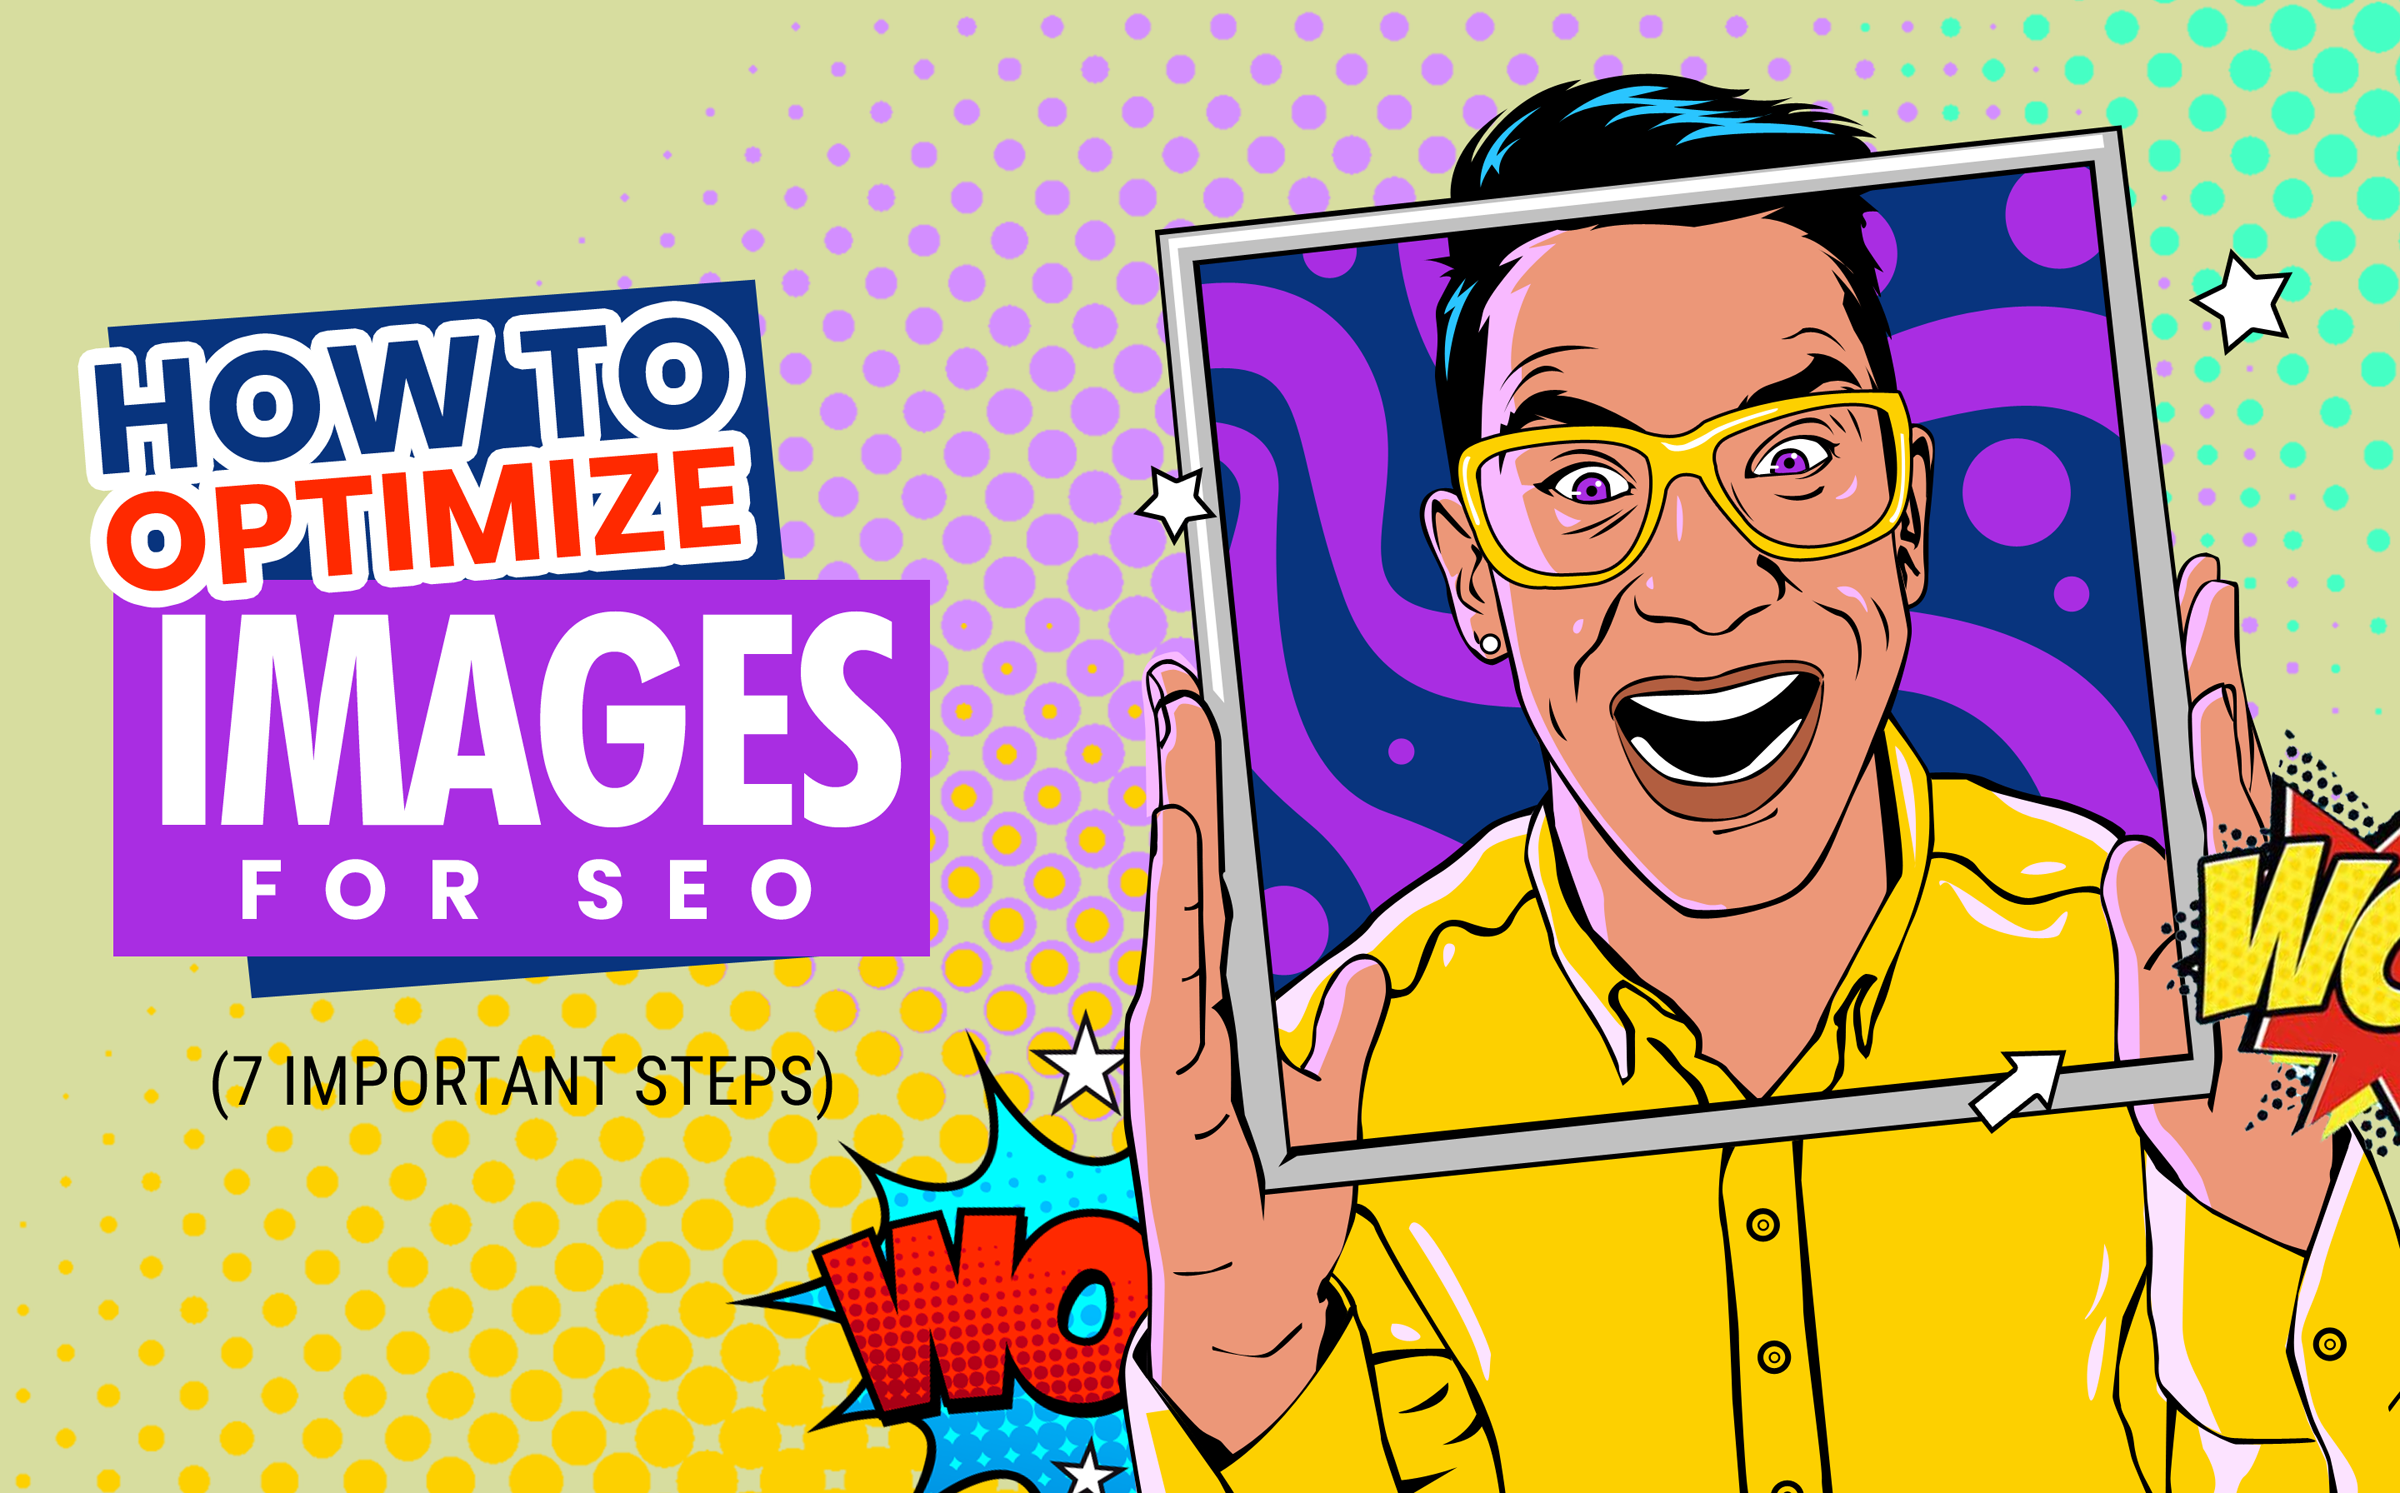
What is an Image SEO?
Image SEO or picture optimization is one of the most ignored but valuable components of an on-page strategy. The primary aim of image SEO is to:
- Rank higher in Google Image Search
- Give users a great browsing experience
To achieve favorable outcomes, you must carry out a few different tasks that help search engine algorithms understand your picture clearly. It is also vital that your website visitors remain satisfied with their visit to keep bounce rates at a minimum.
Studies show that small ‘optimization’ changes can make a significant difference in website traffic. In fact, some websites have reported a 37% increase in the number of visitors they receive.
However, to give your website similar results, you need to optimize the pictures for both – humans and search engine crawlers.
In the guide below, let’s take a look at some techniques that will ensure your images complement the overall SEO efforts of your website.
1. Choose The Right Image
Picture selection is one of the most essential steps of SEO success. When choosing pictures for your business page or blog, make sure they are relevant to the message you are trying to convey with your text. They should also connect with the audience on an emotional level and show them the authenticity of your brand.
Generally, a customized photograph works best to portray the brand’s vision you have formed in your mind. Real pictures show the genuine side of your product/services and help prospective customers make a purchase decision.
However, many marketers find it time-consuming and expensive to go for a personalized shoot. If that is the case with you as well, we recommend looking at reliable stock photo agencies for suitable graphics.
While these pictures may not be exclusive to your brand, they are high-quality and available in an unlimited niche. When searched comprehensively, you can conveniently find stock photographs that represent and match your branding effectively.
2. Go For the Correct Image Format
Once you have chosen the right image for your website, it’s time to look at the file formats that are optimal for quality. The three main file types you will come across are:
- JPEG: The most common format, JPEG, offers lossy data compression. It helps preserve most of the picture detail while also ensuring the smallest file size possible. The only disadvantage is the lack of support for transparent backgrounds. Other than that, they work great for fast loading and the best picture quality.
- PNG: The PNG file format supports transparency, offers a better color range and automatic correction ability. They are also able to embed a short text caption for use in logos. However, its file size can be a bit larger when compared with other formats.
- GIF: GIF supports only 256 colors. Thus, it is ideal for simple arts and animations rather than photorealistic images. It offers a small file size and support for transparent backgrounds, making it a perfect unit for logos and other elements used in your web design.
3. Use Appropriate File Size
Every second counts on the internet! According to a report by Google, 53% of visits are abandoned if a mobile website takes more than 3-seconds to load. Another study shows bounce rate to increase significantly when load time surpasses the 5-second limit.
Google’s John Mueller has also commented that site speed is a search engine ranking factor.
To ensure your website loads quickly, you must scale down large-size pictures into a smaller resolution.
One remedy for this is to use the ‘Save for Web’ option on Adobe Photoshop. This will automatically reduce the file size as per legitimate web design guidelines without compromising the quality.
Besides Photoshop, many other tools can help you compress the file size of your pictures. These include:
Another way to quicken the loading of pages is to integrate a Content Delivery Network (CDN). Through this process, your website’s media files will be stored in several servers across the globe. When a visitor requests the page, your hosting provider will upload pictures from the nearest geographical location to hasten the delivery time.
4. Name Your Images Appropriately
Give your images a descriptive file name, enabling the search engine crawlers to find and index them easily.
Generally, file names on media files are generic and appear something similar to “IMG5032.jpg.’ However, search engine crawlers will not identify the pictures and may have a hard time determining what it is.
Therefore, take some time out and rename each media file you upload on the website. Make the file names concise. It is also a good idea to add relevant keywords for enhanced visibility.
5. Pay Attention to Alt Text
Alt Text (alternative text), also called the ‘alt attributes’ and ‘alt descriptions,’ are part of the website’s HTML code. They are used to identify the context of the image if the pictures are unable to load for some reason.
Additionally, they are used to enhance the web accessibility of a page. The visually impaired internet users using screen readers gain a better understanding of the pictures through appropriately named attributes.
When writing Alt Text for your pictures, make sure to:
- Keep them short.
- Add the target keyword in at least one image of the page.
- Assign a different alt text for each picture.
- Create alt text with both – readers and search crawlers in mind.
6. Supply Sitemaps
Google has always encouraged the developer’s community to supply a sitemap with each website they launch. As per industry experts, the sitemap gives search engines more information about the webpage and helps them index it more accurately.
In most cases, your web design service provider has already provided you with a sitemap of your website. If you are using WordPress, the same is automatically generated for you as well.
However, make sure to add the details regarding the pictures you are adding to your sitemap. You can do this in the existing one or create a new sitemap exclusively for media files. This will allow search engine bots to identify the pictures – even those loaded by a JavaScript code, such as product images and slider galleries.
7. Make Images Responsive
Having a responsive website means that the page should load seamlessly on all types of devices. And with more than 70% of website traffic coming from mobile devices, this is a task you simply cannot do without.
The HTML code is automatically distributed if you are using WordPress, so your pictures load similarly, regardless of the screen size.
You can also solve the problem by adding the ‘srcset’ code to each picture you upload to your database. This code will prompt the browser to load the image size according to the required display resolution.
Conclusion
Quality images are essential for retaining traffic on your website. However, this is only made possible if users can find them first. With the above tips, you can easily increase the likelihood of your pictures appearing in relevant search results. They will also help offer visitors a flawless user experience and keep them coming for more.
If you need further help on this topic, feel free to consult Web Digital. Apart from web design services, we can help your page in many other aspects of the digital world. We offer affordable packages and will help your business grow with our expert web design services.


